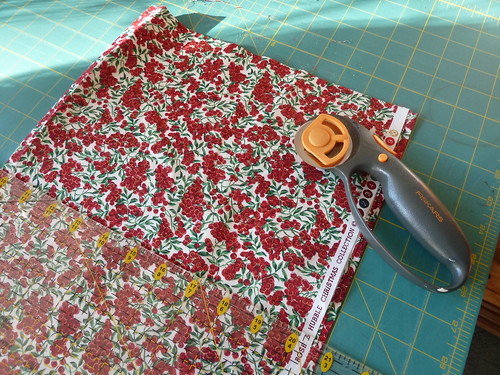
I cannot do without my cutting board, ruler and rotary cutter, I have to say, and they are what makes this so simple. The bunting I make is 6 inches across the top and 8 inches long. The cutting board is in inches, so that is why I don't use metric measurements all the time. (15cm across and 20cm down)
If you don't have the cutting board and bits, make a template from some card and cut out the shapes with scissors. 6 inches across and 8 inches down.
Fold the fabric and trim edges to get a straight line, and then cut an 8 inch strip
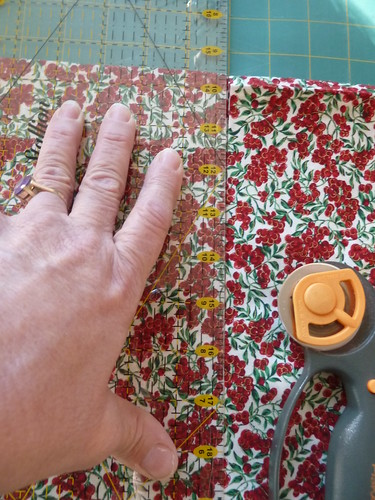
Keep the fabric doubled, and line it up, trim the ends

Count 3 inches across the bottom, and swivel the ruler to give you an accurate cutting line. Cut the first side of your triangle.
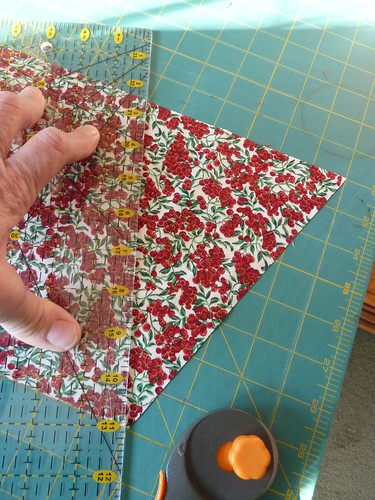
Now swivel the ruler around and count six across the top and cut the rest of the triangle. Carry on doing this across the width of fabric. Then repeat with other fabric until you have enough triangles. And don't worry if some of the pattern ends up upside down. Bunting is up in the air, people will not notice!
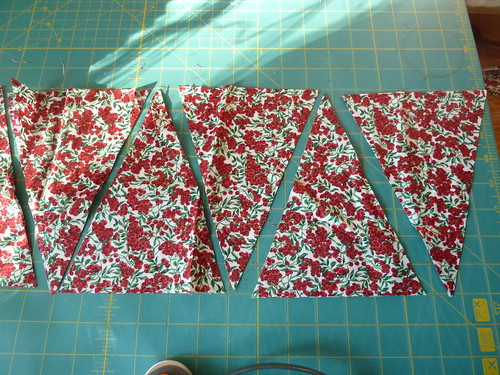
Take your pile of triangles - you see you cut the front and back at the same time so there is no messing about - to the sewing machine. Now you will sew around the 2 sides down one side and up the other. Pop them onto another pile of finished triangles. You can make hundreds in a very short time, believe me.
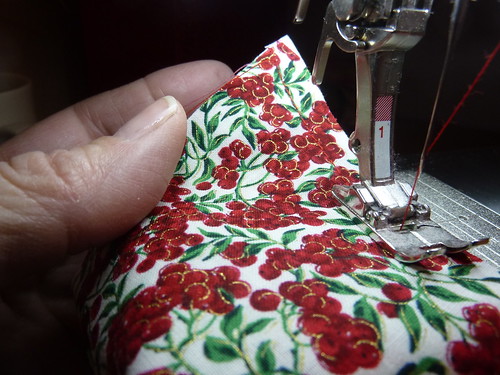
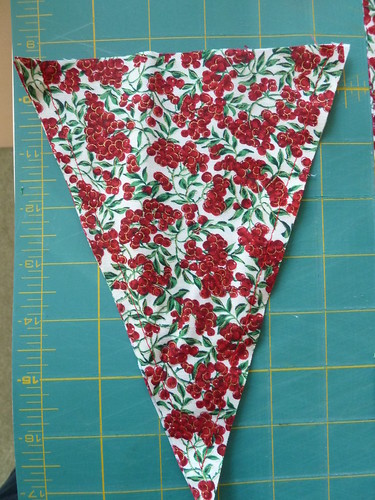
Sewn triangle. You don't do the top.
Get out the pinking shears, and cut up and down the 2 sides of the triangle.
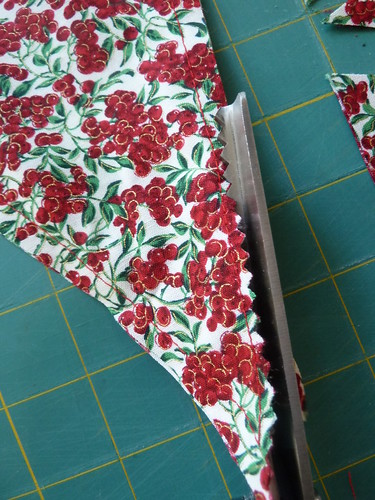
See? Easy. That part is now done.

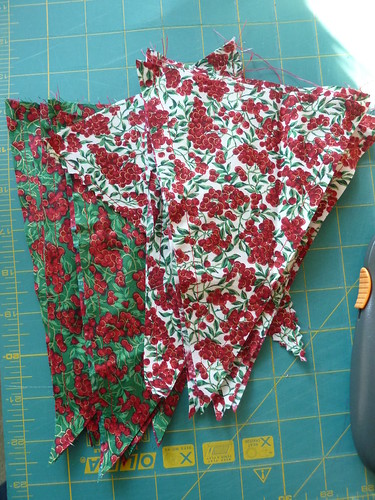
And you have a nice pile (well you will if you take a photo of the finished pile, which I clearly did not do. Use your imagination.) They are all zigzagged.
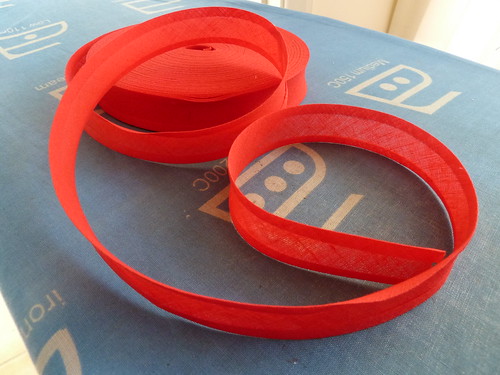
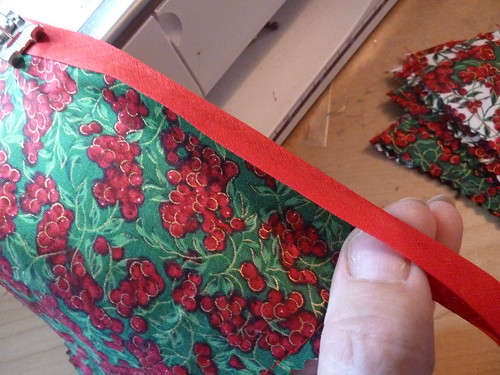
Now we move on to the bias binding. Oh, how I love big rolls of it which do not need joining. I use 1 inch cotton binding.
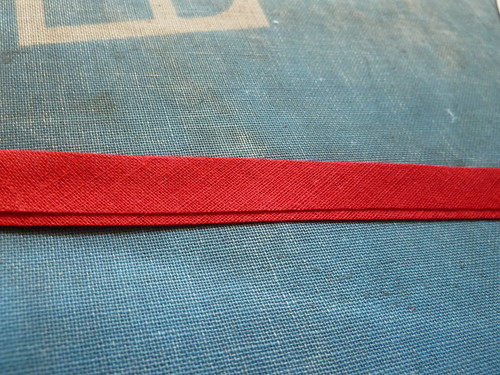
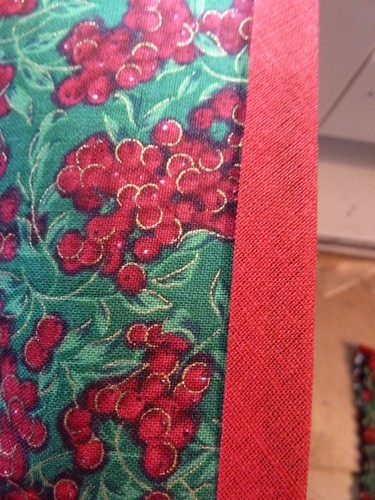
The secret is to iron it in half, leaving a little of the underside showing, because that way, you always know you are catching the back as you sew.
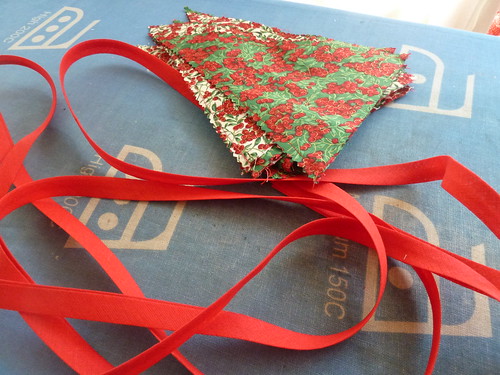
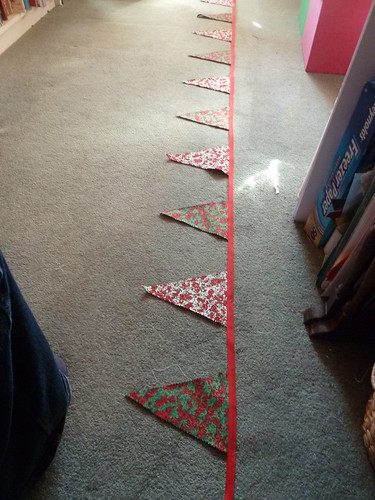
So grab the pile of ironed triangles and the ironed binding and head for the sewing machine,. I have used 12 triangles here, and the binding is just over 3 metres - 10 feet long.
Measure about 10 inches (25cm) and stitch the binding together. Just before you get to the finger marking the 10 inches, make sure your needle is down, holding the binding in place, then open it up and pop the first triangle between the binding.
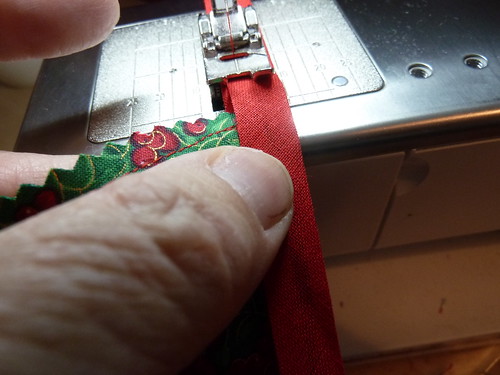
Make a few stitches, and needle down, open the binding and smooth out the top of the triangle.
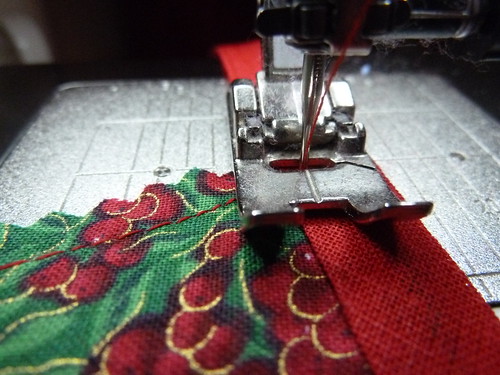
Hold it in place and sew across the top until you are almost at the end.
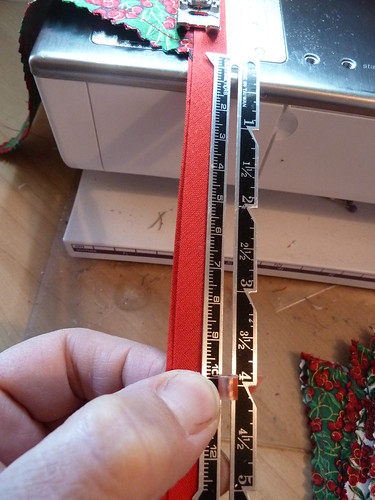
Needle down, use some measuring thing - I love my little hem measuring whatsit - and measure 4 inches (10cm) roughly from the end of the last triangle. Sew that down, and just before you get to the 4 inch mark, pop in the next triangle. Rinse and repeat. Keep going until you have stitched it all together.
And VOILA!!!!!! You will have made the bunting. You can, of course, make it any length you like, and most of the bunting I have made so far(except the wedding and garden ones) I have used a solid run of triangles with no gaps. Just remember to set your machine to needle down all the time, because otherwise it sort of tries to escape, the longer it gets.
The fold it up, and grin, because it is pretty. And you made it.

Of course, if you want to, you can sew the flags together with the right side inside, and then turn them and iron so they will look neat and tidy and stitch on the binding. I have made some like that, but you know, I prefer my normal way.
I hope you make some and get to grin too. And, although I know many of you are experts when it comes to sewing, there are others who are still novices, and that is why I have made this very simple. Just picture me standing next to you, guiding you through the first triangle or two. With the coffee at hand.
Last year, I made bunting for most of my friends, and I spent a couple of hours cutting, then stitching together. In the evenings, I sat in the rocking chair with the pinking shears at hand and trimmed the lot. And then I sorted them into piles in the order I wanted them to be. Then the next day, I measured and cut the binding, then ironed it, and then off I went.
Using up scraps is great too. I made mini bunting for Missy's play house
Let me know if you have made some bunting - I would love to see it! And also, shout if I haven't been clear enough with the instructions.
Have fun!!
8 comments:
What a lovely tutorial!!!! You did a great job on it. I have bookmarked it to make one up. Yours always look so pretty - especially in the garden. Thank you for posting it.
Brilliant! Absolutely brilliant! Why have I always made this so tough? I have everything I need to do it your way and from now on will. I might even give up making my own bias tape and purchase some because that would really make it easier. Yes, I shall have Christmas bunting! Thanks so much, Linds. You can expect a lot of bloggers to be visiting for this tutorial and lots of pinners!
You make it sound so easy but I just know I'd make a disaster out of it! lol I'm going to print out your tutorial, though, and bring it to my mom and maybe she can help me make it considering she's quite the seamstress still:-) Thank you for putting this tutorial together, dear Linds!! xoxo
I always had the impression that it was super hard to make, so now I feel like an idiot LOL
Thank you Linds, going to make some today :)
Will keep this Linds as I am planning on making some bunting when time permits. Have had the material for a while.
Great instructions, Linds! I must make an autumn one - I have tons of leaf fabric. I always get sucked in by the beautiful oranges and yellow in the fabric! I'm loving your 31 series :)
You, my incredibly crafty friend, did an amazing job on this! If I still had my sewing machine, I would definitely try. As it is, maybe I will just bat my eyes really big at you and pay you to make me some to hang in the house ☺
Have I mentioned lately how much I ♥ my quilt? I do, especially now that it is getting cold again and I have pulled it out to use during dialysis. It keeps me ohsowarm!
If I had a sewing machine I reckon even I would have a go at this sewing task - great lesson!
Post a Comment